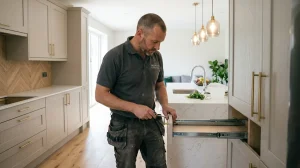
A kitchen renovation is one of the most rewarding investments you can make in your home. Beyond upgrading your daily living environment, industry data shows a well-executed kitchen remodel typically recoups 60% to 80% of its cost in added property value, with the average UK mid-range project costing between £10,000 and £20,000.
However, once design approvals wrap up and delivery dates are confirmed, reality sets in: your house is about to become an active construction site for 2 to 4 weeks (or up to 6 weeks for major structural alterations).
The kitchen is the functional engine of any household. When it goes offline, daily routines can quickly turn chaotic. The secret to a smooth remodel isn’t avoiding disruption entirely—it’s preparing for it. By taking proactive steps to protect your living spaces, establish temporary routines, and streamline trade access, you can navigate your kitchen transformation with total confidence.
Phase 1: Planning & Logistics (4–6 Weeks Before)
Long before any demolition begins, setting solid logisitics ensures the trade teams can execute their work on schedule without costly friction.
1. Establish Primary Communication
Miscommunication is the leading cause of renovation delays. Designate one member of your household as the single point of contact to liaise directly with your project manager or lead fitter.
- Working Hours: Standard trade shifts typically run from 8:00 AM to 4:30 PM, Monday through Friday.
- Site Access: Decide whether you will be present to unlock the property daily or if you will provide access via a secure key lockbox.
- Property Rules: Clarify parking arrangements for trade vans, identify designated toilet facilities, and state non-smoking policies explicitly.
2. Materials & Storage Logistics
A complete kitchen package includes 20 to 40 individual cabinetry units, heavy appliances, composite or stone worktops, and multiple packs of tiles or flooring. In total, these materials can easily occupy 8 to 12 square metres of floor space.
Identify a dry, ground-floor area (such as a garage or formal dining room) where deliveries can be safely stored 48 hours prior to installation without blocking key access routes.
3. Safety for Children and Pets
Active construction sites feature open wiring, sharp offcuts, power tools, and heavy lifting.
- Child Safety: Install heavy-duty safety gates at the entrances leading to the kitchen corridor.
- Pet Care: Noise levels during tear-out can routinely exceed 85 to 90 decibels (comparable to a lawnmower). Arrange for pets to stay with family or in a quiet upstairs room—or board them during the messiest demolition days.
Phase 2: Setting Up a Temporary “Camp Kitchen”
Living without a main kitchen doesn’t mean relying on expensive takeaways for weeks. A typical family of four can save £300–£500 per week by establishing a functional temporary kitchen setup.
Choosing the Location
Select a space well away from construction dust that has straightforward access to water (such as a utility room, dining area, or dry basement).
Essential Equipment Checklist
Limit your temporary kitchen to a few high-efficiency appliances:
- Cooking Gear: A single/double induction ring (1,800W–3,000W), an air fryer, a microwave, and a slow cooker.
- Refrigeration: Relocate your existing fridge freezer if space permits, or use a compact mini-fridge (40L–90L capacity) for fresh essentials.
- Beverage Station: Keep a kettle and coffee maker readily accessible.
- Washing Bin: Set up two plastic basins—one for soapy water and one for rinsing. If using a bathroom or utility sink, always fit a mesh sink strainer to stop food debris from clogging narrower 32mm waste pipes.
Pro Tip: Keep a small set of stainless steel cutlery and ceramic mugs for comfort, but use biodegradable paper plates for busy weeknights to keep dishwashing to a minimum.
Phase 3: Packing Up & Clearing Out
Packing up a kitchen thoroughly takes an average household 8 to 12 hours. Treating this like moving home prevents accidental damage to your belongings.
1. Declutter First
Don’t waste effort packing items you no longer use. Take this opportunity to streamline:
- Dispose of expired spices, canned goods, and baking supplies.
- Donate duplicate utensils, unused small appliances, and worn dishware.
2. Systematic Packing Strategy
Work systematically through your cabinetry:
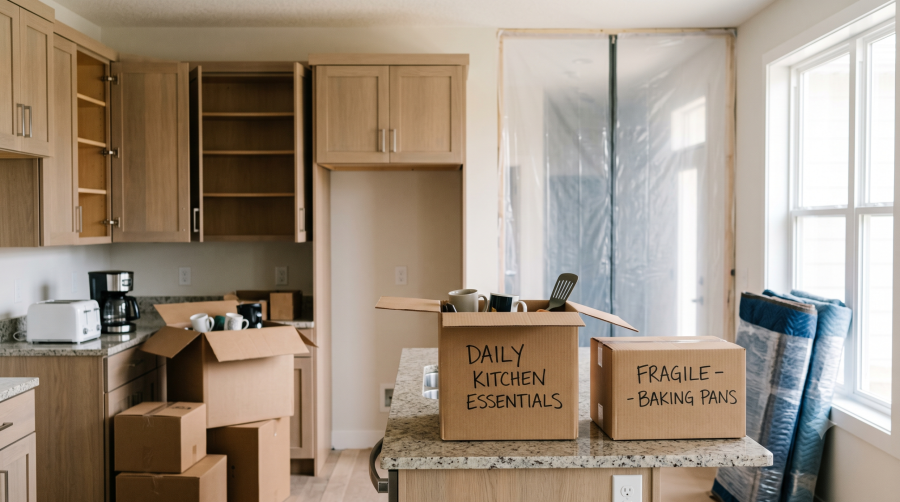
- Pack Non-Essentials First: Fine china, seasonal platters, specialty bakeware, and extra glassware should be boxed up 2–3 weeks early.
- Keep Daily Essentials Separate: Allocate exactly 1 plate, 1 bowl, 1 mug, and 1 set of cutlery per person for your temporary kitchen.
- Label Everything: Clear labels with contents and storage zones (e.g., “Box 3: Baking Pans – Store in Garage”) make unpacking into your new kitchen 50% faster.
3. Protect Adjacent Valuables
Vibrations from SDS drills, tile removal, and wall chasing travel straight through timber framing and brickwork. Remove all hanging artwork, mirrors, and delicate decorations from shared wall surfaces in adjoining rooms.
Phase 4: Protecting the Rest of Your Home
Demolition generates fine gypsum, brick, and sawdust particles that easily migrate across living areas if left uncontained.
                  +-----------------------------------+
                  |         KITCHEN ZONE              |
                  |     (Active Construction)         |
                  +-----------------------------------+
                                    |
                                    | [Heavy-Duty Zip Barrier]
                                    v
                  +-----------------------------------+
                  |           HALLWAY                 |
                  | [Ram Board Heavy Floor Cover]     |
                  +-----------------------------------+
                                    |
                                    v
                  +-----------------------------------+
                  |        LIVING AREA / TEMP         |
                  | [Covered Vents & Filtered Air]    |
                  +-----------------------------------+
Airborne Dust Containment
- Zip Door Barriers: Ensure your fitting team installs heavy-duty plastic zipped screening across open doorways connecting the work area to the rest of the house.
- HVAC Protection: Turn off forced-air heating or cover air return vents in the kitchen area to prevent fine particles from circulating through your ductwork.
- Keep Internal Doors Closed: Keep bedroom and lounge doors closed throughout the workday to act as a secondary barrier.
Floor and Walkway Protection
With fitters making 50 to 100 trips per day in heavy safety boots carrying materials and old units, floor protection is essential.
- Lay heavy-duty floor protection (such as Ram Board or 4mm corrugated plastic sheets) along the primary access route from the front door to the kitchen.
- Secure all seams with heavy-duty masking or cloth tape to eliminate trip hazards and shield timber, tile, or carpet from impact and grit.
Phase 5: Day 1 Readiness Checklist
On the morning demolition starts, running through a final check ensures your installers can begin work immediately.
1.1. Clear Access Routes:Exterior & Driveway.
Move personal vehicles off the driveway to leave at least 6 metres of clear space for trade vans, material delivery lorries, and waste skips.
2.2. Verify Shut-Off Locations:Utility Isolation Points.
Locate your main water stopcock, gas isolation valve, and electrical consumer unit. Show your lead installer or electrician these locations before work commences.
3.3. Final Cabinet Sweep:Cabinetry Check.
Open every cupboard and drawer one last time to ensure no stray items or appliances remain inside.
4.4. Set Up a Courtesy Station:Trade Courtesy.
Set up a small table outside the active work zone with a kettle, mugs, tea, coffee, and an extension lead. It is a simple gesture that builds great rapport with your installation team from day one.
Enjoying the Transformation
Living through a major home improvement project requires flexibility, patience, and a sense of perspective. While living out of a temporary kitchenette for a few weeks presents minor daily hurdles, thoroughly preparing your space minimizes unexpected costs, prevents damage, and keeps your project strictly on timeline.
Once the dust settles and the trades wrap up, you’ll be left with a beautiful, modern kitchen that adds real market value to your property and elevates your daily home life for years to come.